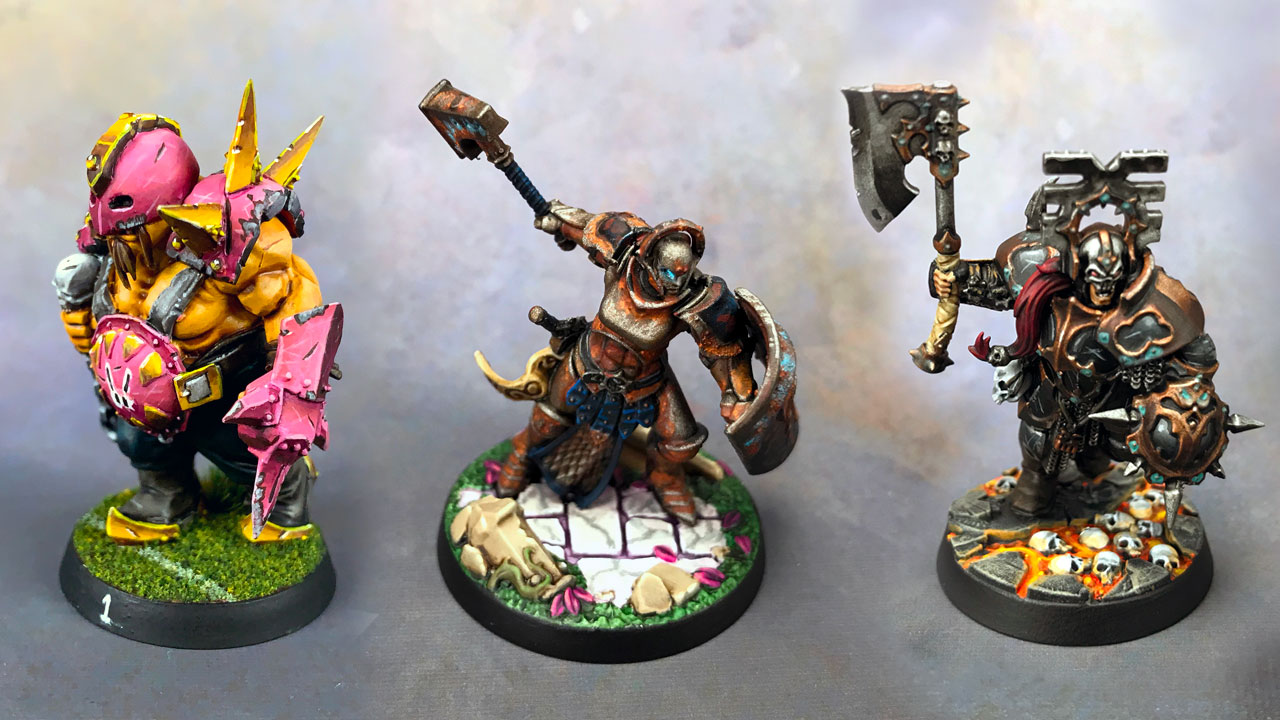
Miniature painting is both an art and a craft that requires patience, skill, and the right techniques to achieve truly exceptional results. Whether you're painting Warhammer 40K armies, D&D characters, or display pieces, mastering advanced techniques will transform your models from simple gaming pieces into stunning works of art that command attention on any tabletop.
At Guildhouse Toronto, we've worked with countless painters at every skill level, from absolute beginners to award-winning artists. Through years of experience and countless hours spent perfecting techniques, we've compiled this comprehensive guide to help you take your miniature painting to the next level.
Understanding Color Theory for Miniatures
Before diving into advanced techniques, it's crucial to understand the fundamentals of color theory as they apply to miniature painting. The way colors interact on a three-dimensional surface is different from traditional painting, and mastering these principles will dramatically improve your results.
"Color is not just about what looks good – it's about understanding how light behaves on different surfaces and how the human eye perceives depth and form. Master color theory, and you'll master miniature painting."
Complementary colors create natural contrast and make details pop, while analogous color schemes create harmony and cohesion across your model. Understanding warm and cool colors helps create depth and atmosphere, essential for creating realistic lighting effects on your miniatures.
Essential Color Categories
Base Colors
- Abaddon Black
- Corax White
- Mephiston Red
- Caledor Sky
- Castellan Green
Contrast Paints
- Blood Angels Red
- Ultramarines Blue
- Nazdreg Yellow
- Dark Angels Green
- Space Wolves Grey
Metallics
- Leadbelcher
- Retributor Armour
- Runefang Steel
- Brass Scorpion
- Iron Warriors
Advanced Blending Techniques
Smooth color transitions are the hallmark of professional miniature painting. Advanced blending techniques create realistic gradients that mimic how light naturally falls across surfaces, giving your models depth and dimension that makes them truly come alive.
Wet Blending
Work with wet paint on the palette and model simultaneously, blending colors while they're still workable. This technique requires speed but produces incredibly smooth transitions.
AdvancedGlazing
Apply multiple thin, transparent layers to gradually build up color and create smooth transitions. Perfect for creating realistic skin tones and subtle color shifts.
IntermediateFeathering
Use a dry brush with minimal paint to create soft, feathered edges between colors. Essential for creating natural-looking highlights and shadows.
BeginnerThe Importance of Patience
Advanced blending cannot be rushed. Each layer must be completely dry before applying the next, and the process often requires 5-10 thin coats to achieve the desired effect. The results, however, are worth the investment in time.
Timing Tip
Use a hairdryer on cool setting to speed up drying time between coats, but never use heat as it can cause paint to crack and separate.
Mastering Non-Metallic Metal (NMM)
Non-Metallic Metal is perhaps the most challenging but rewarding technique in miniature painting. Instead of using metallic paints, NMM uses carefully placed highlights and shadows to create the illusion of reflective metal surfaces using only matte colors.
The key to successful NMM is understanding how light reflects off different metal types. Steel reflects light in sharp, bright highlights with deep shadows, while gold has warmer tones and softer reflections. Copper and bronze require understanding of oxidation and weathering patterns.
Steel NMM
Start with dark grey base, build up through progressively lighter greys, finishing with pure white highlights. Maintain sharp contrast between light and shadow areas.
AdvancedGold NMM
Build from dark brown through warm yellows to pale yellow highlights. Gold reflects more ambient light and has softer transitions than steel.
AdvancedWeathering and Battle Damage
Realistic weathering transforms pristine miniatures into battle-hardened veterans with stories to tell. Understanding how different materials age and wear is crucial for creating convincing weathering effects that enhance rather than detract from your model's overall appearance.
Weathering should be subtle and purposeful. Consider your model's background – a space marine who's been fighting in desert conditions will show different wear patterns than one who's been in urban warfare. Environmental storytelling through weathering adds depth and character to your miniatures.
Essential Weathering Techniques
- Rust Effects: Build up rust using oranges and browns, starting light and gradually adding depth with darker tones.
- Edge Highlighting Wear: Use silver or light grey on armor edges to simulate paint wear from combat and movement.
- Mud and Grime: Mix brown washes with texture medium to create realistic dirt accumulation in recessed areas.
- Blast Damage: Use sponge techniques with dark greys and blacks to create realistic scorch marks and explosion damage.
- Scratches and Chips: Fine brush work with contrasting colors to show where impacts have damaged the surface.
Weathering Warning
Less is more with weathering effects. It's easy to overdo it and ruin hours of careful work. Build up effects gradually and step back frequently to assess your progress.
Advanced Highlighting Techniques
Professional highlighting goes far beyond simple edge highlighting. Understanding how light behaves on complex three-dimensional forms allows you to create highlights that guide the viewer's eye and create dramatic visual impact.
Zenithal highlighting mimics natural overhead lighting, while object source lighting (OSL) creates the illusion that your model is being lit by weapons, magic, or environmental effects. These techniques require careful planning but produce stunning results.
Zenithal Highlighting
Simulate natural overhead lighting by highlighting surfaces that would be struck by light from above. Creates realistic depth and dimension across the entire model.
IntermediateObject Source Lighting
Create the illusion of light emanating from specific sources on your model. Requires careful color selection and precise placement of highlights and shadows.
AdvancedBrush Control and Precision
No amount of technique knowledge can compensate for poor brush control. Developing steady hands and precise brush movements is essential for executing advanced techniques successfully. This skill develops over time through practice and proper brush maintenance.
Invest in quality brushes and maintain them properly – a good brush will last years with proper care, while cheap brushes will frustrate you and limit your potential. Learn to use different brush types for different tasks, and always clean them thoroughly after each painting session.
Brush Maintenance
Never let paint dry in your brushes, always reshape the tip after cleaning, and store brushes tip-up to maintain their shape. A well-maintained brush is a painter's most valuable tool.
Building Your Skills Progressively
Advanced miniature painting is a journey, not a destination. Each model you complete teaches you something new, and skills that seem impossible today will become second nature with practice. Start with simpler techniques and gradually work your way up to more complex effects.
Document your progress with photos – you'll be amazed at how quickly your skills develop when you look back at earlier work. Don't be afraid to experiment and make mistakes; every failed technique is a learning opportunity that brings you closer to mastery.
Visit Guildhouse Toronto
Ready to put these techniques into practice? Visit our store for the complete range of Citadel paints, premium brushes, and expert advice. Our staff includes experienced painters who are always happy to share tips and help you choose the right materials for your projects.